Starting a new treatment plan for a lung condition is sometimes met with hesitation. This is especially true if it’s your first time using vest therapy to manage symptoms of COPD (chronic obstructive pulmonary disease), bronchiectasis, or both. From setting up and learning how to use your new device to performing each therapy session and monitoring its progress, it might feel intimidating, but with the SmartVest Airway Clearance System, vest therapy is simple, comfortable, and easier to use independently—whether you’re at home or on the go.
Making Vest Therapy Part of Your Treatment Plan
 SmartVest is a high frequency chest wall oscillation (HFCWO) therapy device that works to help relieve symptoms from a chronic lung condition, like bronchiectasis or COPD, including:
- Shortness of breath
- Wheezing
- Chronic cough
- Mucus buildup
- Inflammation
- Respiratory infection
This device is available by prescription only, which means before you can start experiencing symptom relief, you first need to schedule an appointment with your clinician. If you’re experiencing any of the symptoms above, you’ll want to share this information with your care provider and request a HRCT scan. This stands for high-resolution computerized tomography scan.As of now, an HRCT scan is the only proven way to diagnose bronchiectasis, as it allows your clinician to view your chest wall using 3-D imaging. This is essential, especially if your bronchiectasis symptoms are mirroring COPD. Treating COPD will not help you manage bronchiectasis, so in order to get the right treatment for your individual condition, you first need an accurate diagnosis.
To learn more about HRCT scans and why they’re used to detect symptoms of bronchiectasis, read our article on how to diagnose bronchiectasis.
Once diagnosed, your clinician may prescribe a combination of antibiotics and vest therapy to help you manage your symptoms. This is where our team makes it easy for both you and your clinician to begin the SmartVest Journey.
As not all HFCWO therapy devices are the same, it’s important to educate your clinicians on the benefits of using SmartVest over other brands. We offer a helpful information packet that contains product information and clinical research on the effectiveness of using SmartVest, which you and your clinician can review together.
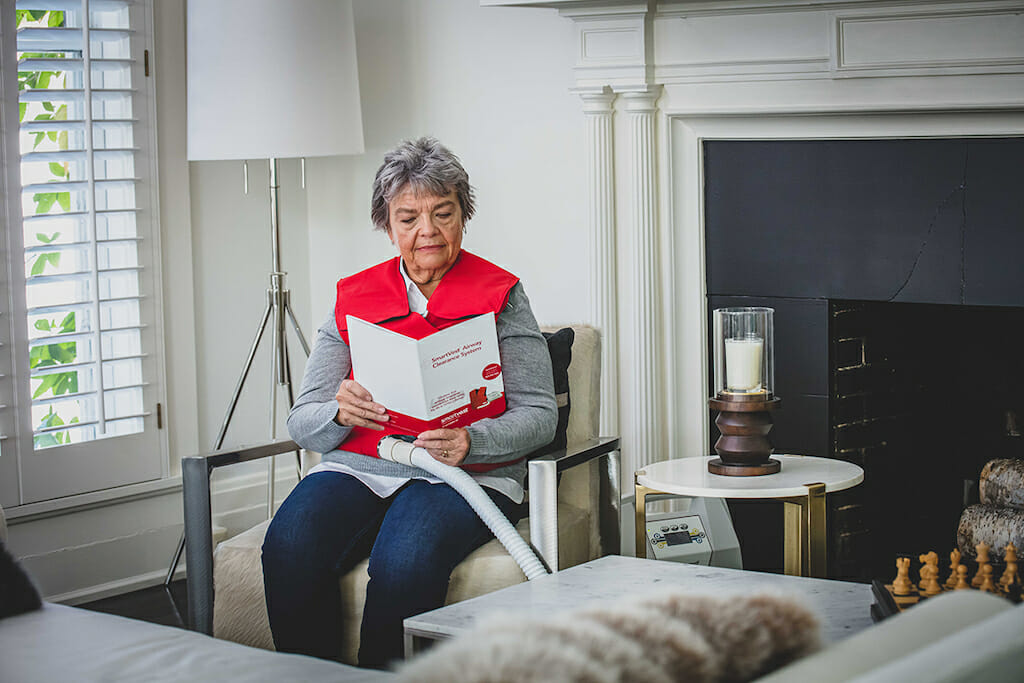
Within this packet, we also include a prescription form for your clinician to complete and fax over to our team.
From there, our team takes the lead, including handling the reimbursement process on your behalf. Next, we’ll connect with you to complete the prescription process and help you get your new SmartVest delivered to your door, so you can begin therapy and start breathing easier!
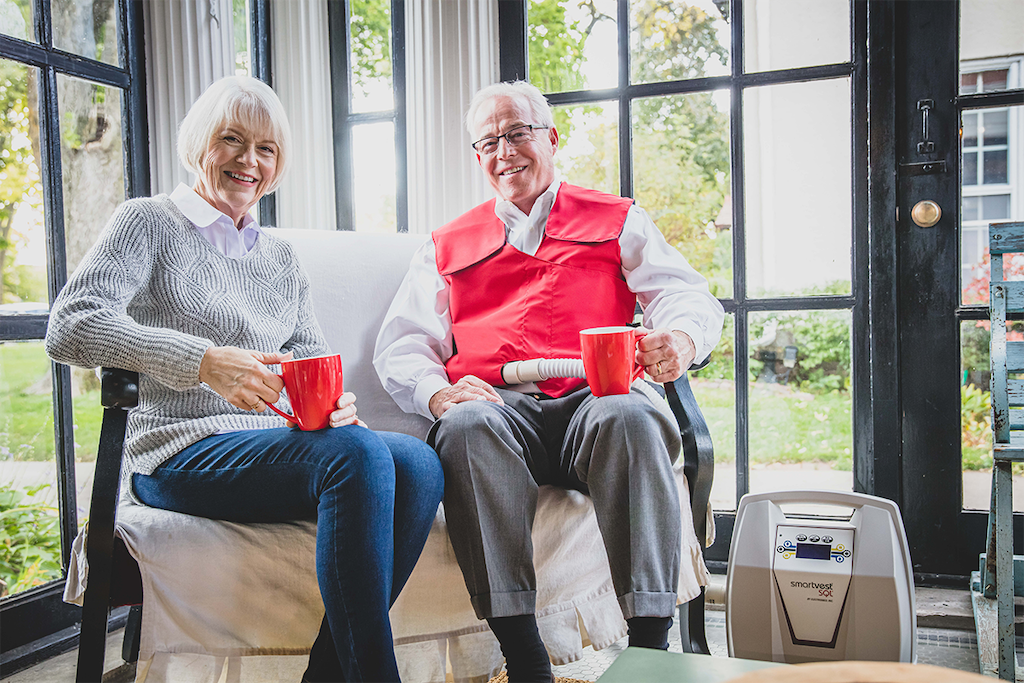
Vest Therapy at Home
Before we get into how SmartVest works, let’s first review what you can expect when your package arrives at home.
When your SmartVest delivery arrives, it will contain the following items:
- SmartVest Garment
- SmartVest Generator
- Connecting Hose
- Wheeled Carrier for Travel
- User Manual
Because the SmartVest generator is designed to operate in either the upright or horizontal position, you can place it on a table, by the side of the couch or anywhere that’s more convenient, but still within reach of the connecting hose.
Fitting Your SmartVest
Before your vest arrives, we’ll make sure to help you choose the right size so that it fits snug around the chest—without making you feel restricted.
And because our vest is made using velcro closures, it’s easy to adjust your vest comfortably around the chest and shoulders to ensure maximum comfort during each therapy session.
 Putting on Your SmartVest
When putting on your Smartvest, you’ll want to put your arms through each sleeve like you would a normal vest. But rather than buttoning or zipping up the garment in front of you, you’ll connect the velcro closures together to ensure your vest is fastened around your chest. Remember, you can always adjust your shoulder straps for a more comfortable fit.
The garment should sit at your waist or slightly below it.
Now is a good time to inform you that when your vest arrives, you’ll also have a scheduled one-on-one session with a Registered Respiratory Therapist (RRT), who will visit your home, or offer virtual training, to help you get familiar with your therapy device and ensure the vest fits properly.
Attaching the Hose
Your vest will include an insertion point for the hose. Because the hose connecting point is the same on both ends, it doesn’t matter which end of the hose you use to connect your vest to the generator. You’ll want to use one hand to hold the vest in place and the other to gently insert the end of the hose. Give it a slight twist but don’t force it in.
Powering the Generator
To turn the device on, you’ll first need to ensure it is plugged into a nearby electrical outlet. Additionally, the toggle switch, which is located next to the power cord connection, must be turned to the “on” position to begin therapy.
Once the generator is activated, you will start feeling repeated pulses of air within your garment that gently squeeze and release your upper chest wall. Note, your RRT will help you program your generator as recommended and prescribed by your clinician. You’ll also learn how to start, pause, restart, program, reset, and troubleshoot your device, so you feel confident performing your vest therapy independently.
All SmartVest users are also provided with lifetime support, which means if you have any concerns or questions about using your device, you can contact our team for guidance. This also means that if your device is damaged, or you require a different size vest later on, we’ll update your equipment at no additional cost to you.
If you’d like to see how to use your SmartVest in person, check out our new video on SmartVest Training for Home Use to see our device in action!
How SmartVest Works
We mentioned how SmartVest delivers repeated pulses of air that gently squeeze and release your upper chest wall. This process creates rapid air movement throughout the lungs. The frequent air oscillation then helps thin, loosen, and propel mucus upward, so it’s easier to cough out—thereby helping to prevent the onset of infection caused by mucus buildup.
 SmartVest can help you find relief from chronic symptoms and get you back to feeling your best, but it’s important to never stop therapy because you start to feel better. SmartVest works because it helps manage symptoms by reducing buildup, but this requires daily use.
So, even though you feel better, keep up with your usual therapy session protocol.
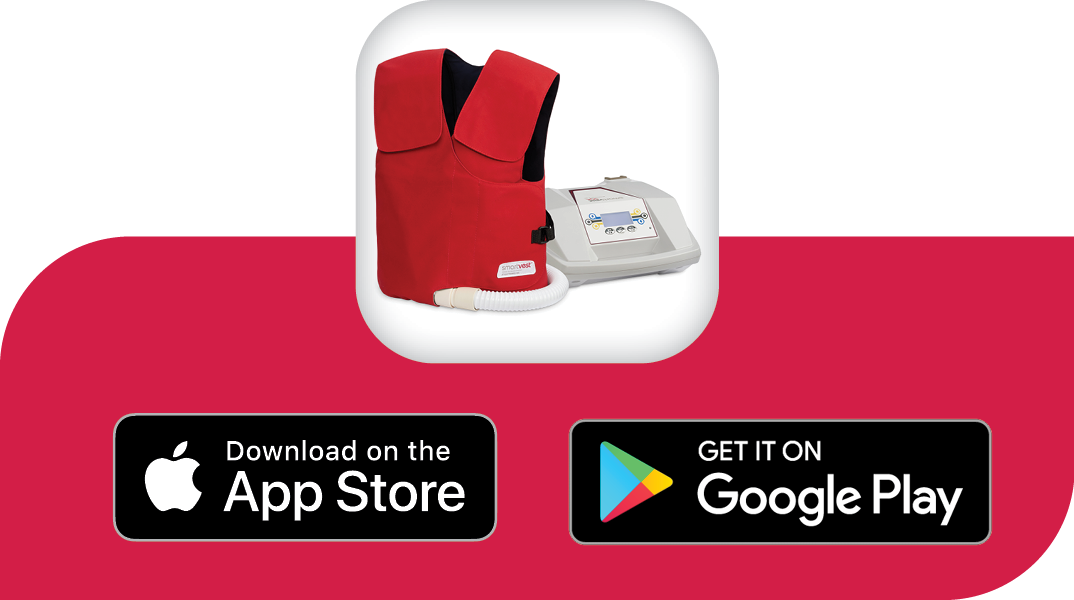
Downloading the SmartVest App
In addition to your daily therapy sessions, SmartVest also allows you to track, monitor, and connect with your healthcare team regarding your progress via SmartVest Connect.
Available on the App Store or Google Play, you can download the app for free and start tracking real-time data during each therapy session. Because the app is connected to the SmartVest by Bluetooth, view your progress on any smart device with the app installed.
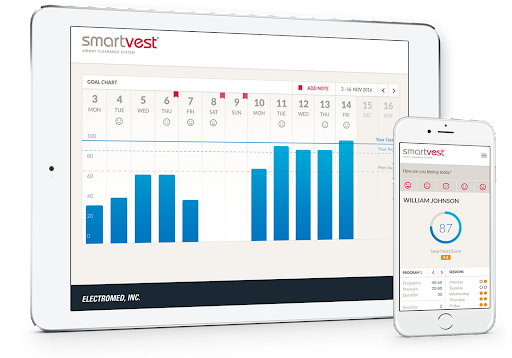 Another great feature of SmartVest Connect is that it allows you to collaborate with your healthcare team and share notes on your therapy progress. All your information is encrypted and stored securely, so you can stay connected with better peace of mind, too.
Vest Therapy on Your Schedule
We hope you found this article helpful and informative as you begin your SmartVest Journey. If you have any questions about using or getting a SmartVest to start experiencing symptom relief, please request an informational packet or live chat with us!
Remember to watch our SmartVest Training video and subscribe to our YouTube channel for other helpful tutorials on using SmartVest.