
We hope you’re getting plenty of good use out of your SmartVest Airway Clearance System. As with any garment you wear around the house, over time, your therapy vest needs to be properly cleaned to extend its lifespan, as well as provide a comfortable experience each session.
In this article, we’ll walk you through how to clean your vest regularly to ensure optimal performance.
About Your SmartVest
Before we begin, let’s first review the two most important components that make up your SmartVest: the bladder and the outer shell.
Each SmartVest consists of an inner bladder and outer shell.
- The bladder is zipped up inside the outer shell. This is how the vest inflates and deflates once it’s connected to the single-hose air-pulse generator.
- The outer shell is the garment that wraps around your upper chest wall.
Each component will need to be cleaned regularly, but both will require special care and attention to avoid any potential damage to the integrity of your chest vest therapy.
Tips for Cleaning Your SmartVest
 Begin with the bladder
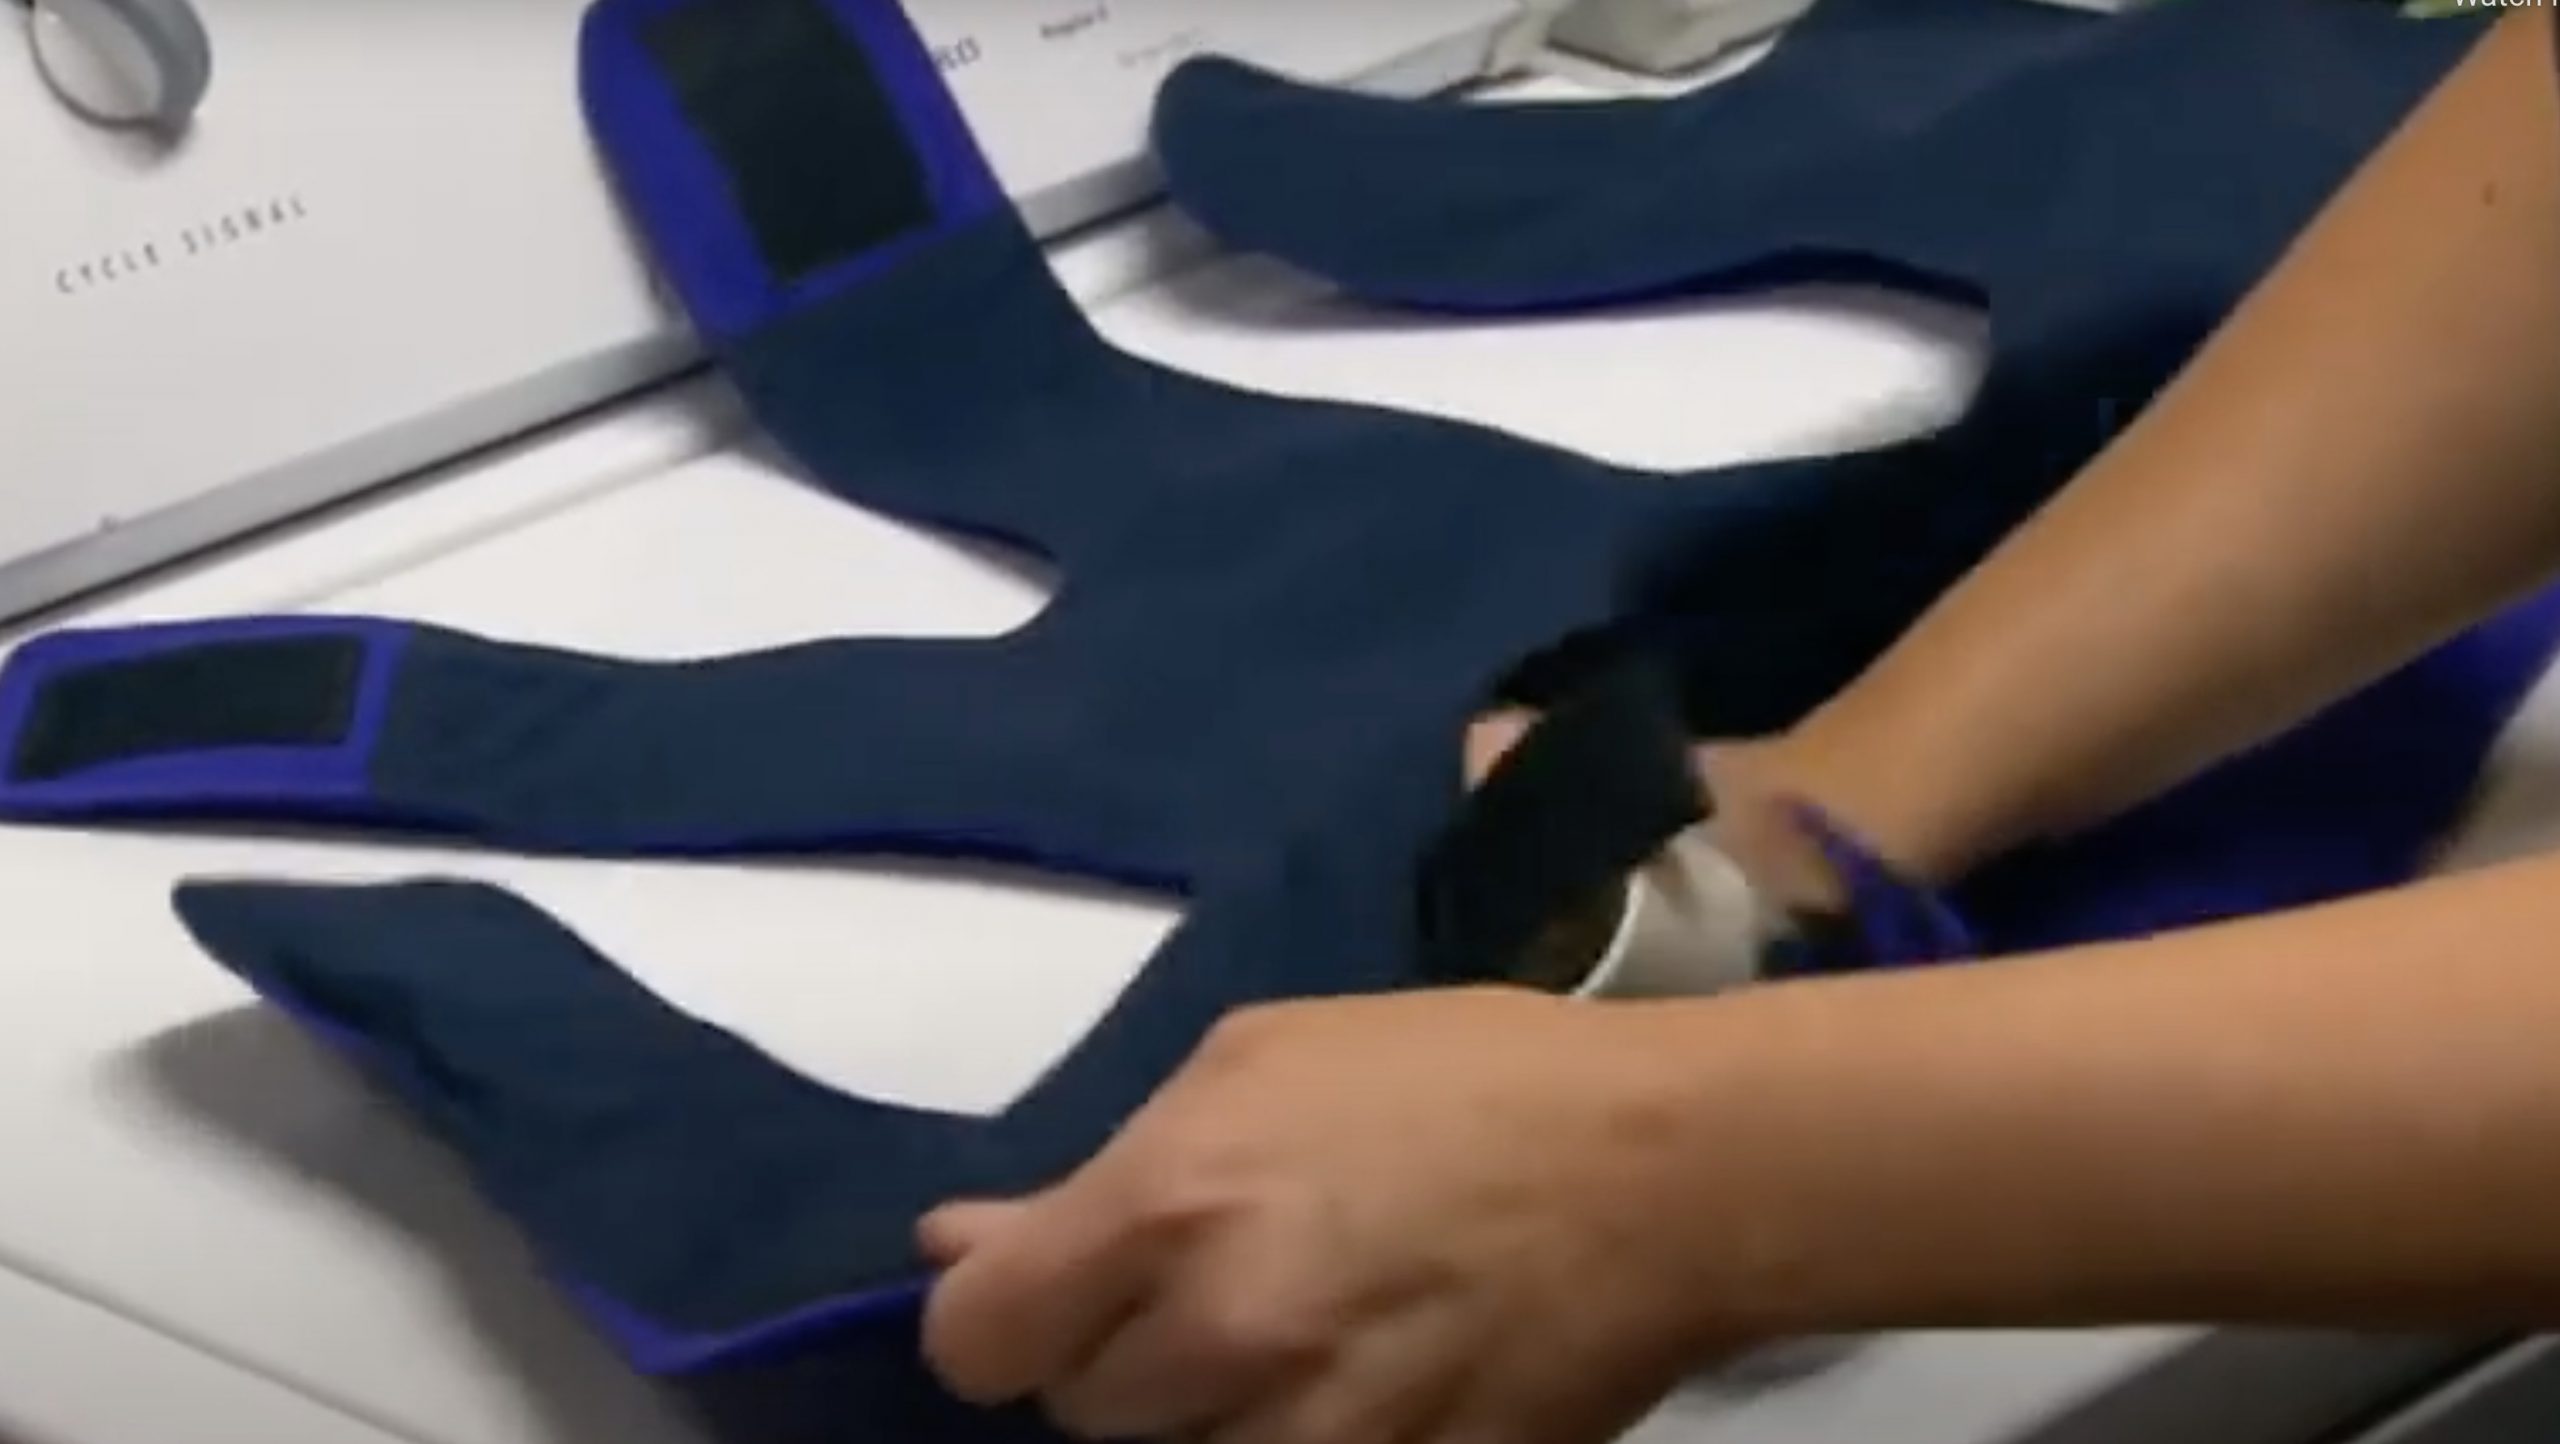
Below you’ll find instructions on how to safely remove the bladder from the outer shell and clean it thoroughly.
- Open the vest completely.
- Lay the vest out on a flat surface.
- Unzip its zipper.
- There are five Velcro-like strips holding the bladder in position inside the shell. Separate these to remove the bladder from the respiratory vest.
- Lift the bladder out of the shell. Be careful not to puncture or cut the bladder material with any sharp objects.
- Clean the inner bladder with a cloth or sponge dampened with water and/or a household cleaner/disinfectant.
Important Note
Remember to never machine wash or dry clean the inner bladder or allow liquid to get inside the bladder area of your chest compression vest.
Clean the Outer Shell
The outer shell can be spot cleaned with a damp cloth and a non-abrasive household fabric cleaner.
Want a more thorough cleaning? Follow these simple steps:
- After the bladder has been removed, wash the outer shell in a washing machine, using a mild detergent. Remember to fully close all Velcro-like closures beforehand to avoid wearing out the material.
- Set your washing machine to the cool water and gentle cycle settings.
- When the wash cycle is complete, hang the shell to air dry.
Important Note
Do not put the outer shell into the dryer.
How to Re-Assemble Your SmartVest Garment
Before re-assembling your SmartVest, always make sure both vest components (bladder and shell) are completely dry.
- Working on a flat surface, place the bladder into the shell.
- Tuck the four shoulder straps of the bladder into the shoulder straps of the shell, working the ends into the corresponding pockets.
- Be sure the Velcro-like attachment points are firmly connected.
- Check the bladder position and re-adjust the Velcro-like attachments where necessary.
- Close the zipper and attach the fifth Velcro-like strip, located near the air-hose connector.
If you’re using the long-term use SmartVest Wrap®, remember to spot clean your garment only. The wrap is not machine washable or dryable. As with the outer shell, you can use a damp cloth and a household fabric cleaner to complete this task.
 How Often Should I Wash My SmartVest Garment?
Most SmartVest users will typically perform therapy twice a day (morning and evening), every day. It’s recommended that you clean your SmartVest regularly. This helps ensure the removal of dust particles, dirt, sweat, or any airborne irritants from attaching to your therapy vest and causing skin or lung irritation.
Watch Our Cleaning Tutorial
If you’re more of a visual learner, we have you covered! Watch our tutorial video on how to wash and clean your SmartVest garment at home.
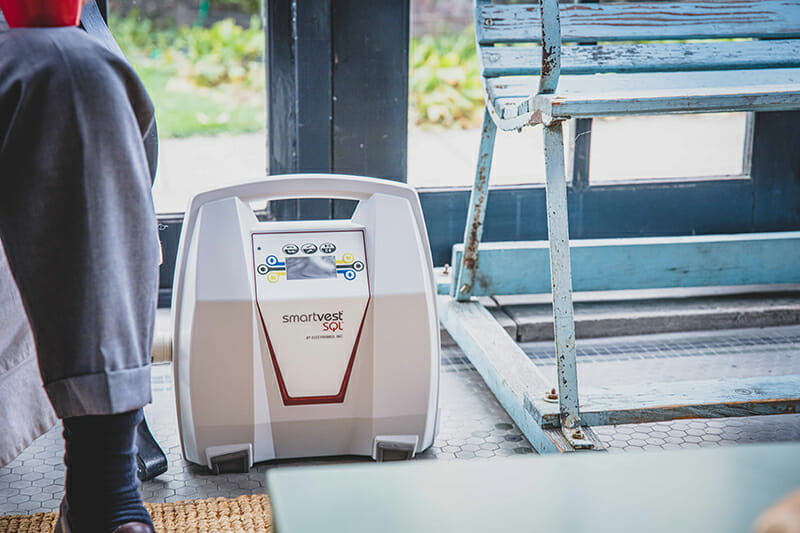
Cleaning Your SmartVest Generator
Just as your SmartVest needs regular cleaning, you’ll also want to ensure your generator is properly serviced, as well.
Before getting started, be sure that the generator is turned off and unplugged.
- Clean the air-pulse generator and air hose with a damp cloth and non-abrasive household cleaner.
- Be careful not to allow any liquid to run inside the generator.
- Allow the generator and hose to dry completely before resuming use.
How Often Should I Clean My Generator?
To help avoid dust or debris collecting on your generator and air hose, be sure to make regular cleaning a part of your SmartVest routine.
We recommend cleaning your generator and air hose while your inner bladder and outer shell are laying out to dry.
Finally, in addition to cleaning your SmartVest and air generator, it’s also important to ensure your home is properly cleaned and dusted to help reduce common airborne irritants that could impact therapy.
To learn more, read our helpful article on avoiding air pollutants at home.
Want More SmartVest Resources?
For questions on how to clean and maintain your SmartVest, contact our product support team. One of our licensed respiratory therapists will assist you in the operating and troubleshooting of your SmartVest.
You can also subscribe to our YouTube channel to find more helpful videos about using SmartVest, as well as our blog for helpful articles on living with a chronic lung condition and the benefits of airway clearance therapy.